Choose the simplest marking method for the project
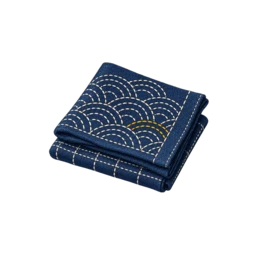
A pre-printed cloth is the most direct option because the design is already positioned and the guide is made for that product. It is useful for a first project or whenever you want to spend your time practising the stitch rather than drawing.
For plain cloth, transfer paper, a washable fabric marker or another method recommended for the fabric can work well. Choose the method by how clearly it shows on the cloth and how safely it can be removed after stitching.
Prepare and test the cloth first
Make sure the fabric is clean, flat and stable before marking. If the cloth will shrink or change shape during preparation, deal with that before transferring a carefully measured design.
Test the marker, transfer medium and removal method on a spare corner or matching scrap. Check the front and back after the test has dried or been rinsed. A line that disappears on one fabric may remain on another.
Transfer a design without stretching the weave
Place the design square to the cloth and secure the layers so they cannot slide. Transfer the main lines with enough pressure to make a visible guide, but do not force the tool so hard that it dents or stretches the fabric.
Keep the first design manageable. Straight rows, a small geometric repeat or a patch-sized motif gives you a useful test of scale and spacing before you commit to a full cloth.
Check the marks before you stitch
Look at the design from the front and back, then hold the cloth as you expect to work it. Correct broken lines, unclear crossings and areas where the marks have transferred through too strongly.
Finish the stitching before removing a temporary guide unless the product instructions say otherwise. When the work is complete, follow the marker or cloth manufacturer’s removal instructions and avoid heat until you know the marks are gone.