
Contact Us
ThreadsBundlesNeedles & ThreadersTextilesCraft ToolsNewFree Tools
0Bag
ThreadsBundlesNeedles & ThreadersTextilesCraft ToolsNewFree Tools
FavouritesSign in0Bag
Royal Mail £2.99Free delivery from £25
Free UK delivery on orders of £25 or moreFree delivery from £25Delivery is £2.99 on orders under £25Learn more

How to mark a 10 mm sashiko practice grid

For this practice exercise, draw an 80 × 80 mm square divided into 10 mm cells. The grid is a measuring aid: it does not mean every line must be stitched. Leave extra cloth around it so you can hold and finish your sample.

Updated 6 September 20262 min read · stitching time variesCloth and preparation
In this article
  1. Draw the grid from two measured edges
  2. Print the worksheet if you prefer
  3. Choose a short stitching exercise
  4. Choose a suitable ruler and paper

What you need

  • A plain woven-cloth scrap larger than 80 × 80 mm
  • A metric ruler and a way to check a right angle
  • A tested removable textile marker, or tracing paper and tracing tool

Draw the grid from two measured edges

  1. Prepare the cloth and marking test

    Lay suitable plain cloth flat without stretching it. Use a marking method that transfers and removes successfully on a scrap; preserve any maker-printed guides on a different project.

  2. Draw the 80 mm square

    Use a ruler and a right angle to establish the first two sides, then complete the square. Measure from the same zero mark each time.

  3. Mark at 10 mm intervals

    Along both opposite horizontal edges, mark 10, 20, 30, 40, 50, 60 and 70 mm. Join corresponding marks to make parallel lines.

  4. Repeat in the other direction

    Mark the two remaining edges at the same intervals and join them. Count eight cells in each direction and check the overall square again.
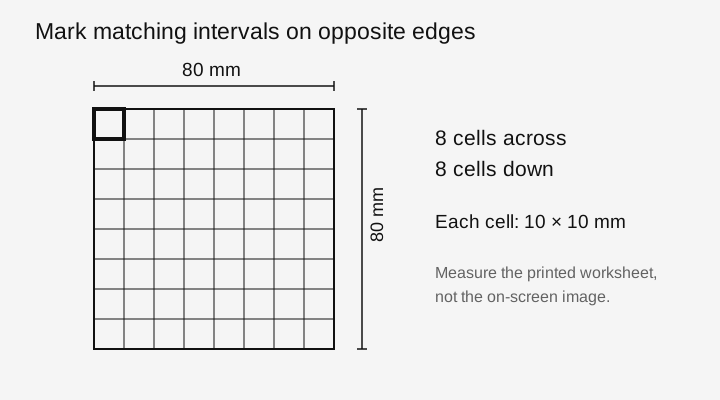
An 80 mm square divided into eight rows and eight columns, with one 10 mm cell highlighted by measurement arrows.
The drawing explains the dimensions. Use a ruler or the scale-checked download; do not measure this responsive on-screen image.Original Sashiko Crafts explanatory drawing; no physical sample is represented.

Print the worksheet if you prefer

Open the SVG below and print on A4 at 100% or actual size, with fit-to-page scaling disabled. Measure its 50 mm check line on the printed sheet before transferring anything. If it is not 50 mm, correct your printer settings or draw the grid with a ruler.
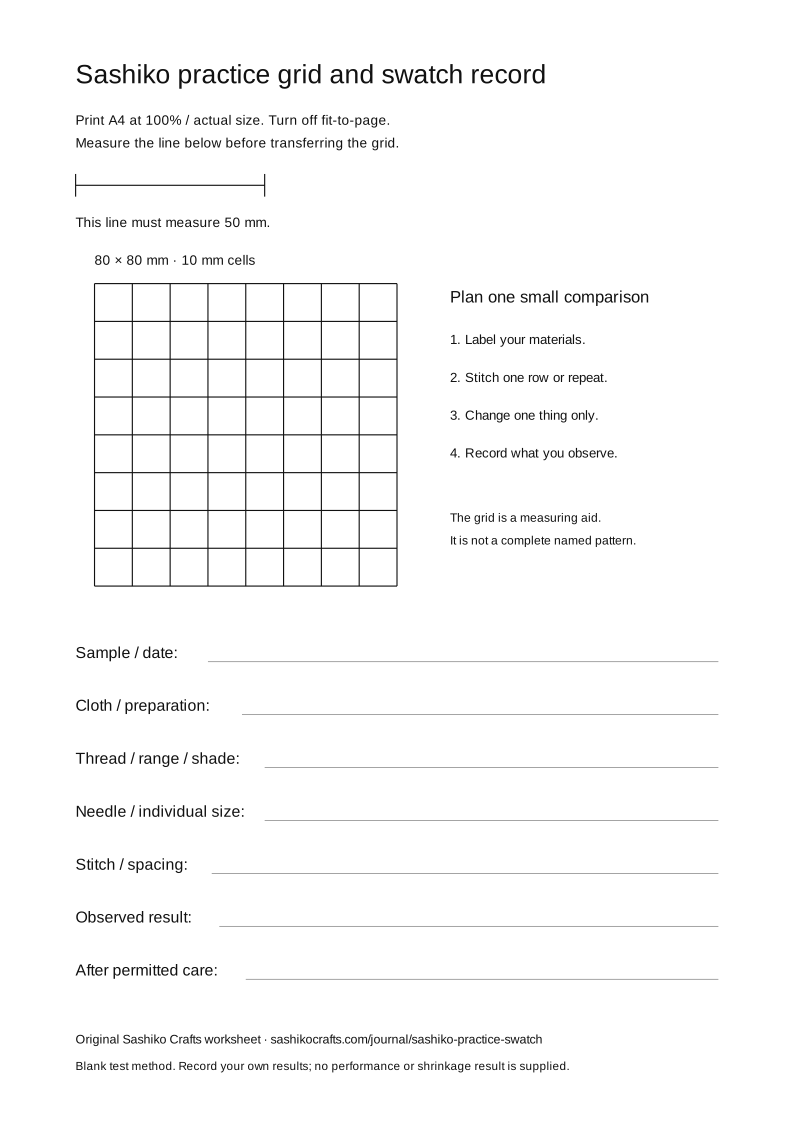
  • Open the A4 grid and swatch record (SVG)

Choose a short stitching exercise

For a first sample, stitch one straight row and leave the other grid lines as guides. The linked first-sample instructions explain the running-stitch path. This blank practice grid is not a completed hitomezashi, kogin or named traditional pattern.

  • Stitch your first sample
  • Record your swatch result

Choose a suitable ruler and paper

A 15 cm ruler can span this 8 cm exercise. For a larger design, use a longer ruler or an accurately registered paper pattern instead of repeatedly guessing the continuation of a short edge.

  • Shinwa 14001 ruler, 15 cm
  • Clover Chacopy five-colour tracing paper

Sources: Olympus: choosing thread, cloth, needles and marking tools; Clover: Chacopy tracing-paper application and removal

Related tools and materials

  • Shinwa 14001 ruler, 15 cm
  • Clover Chacopy five-colour tracing paper
  • Transfer a paper pattern

Read next

  1. How to transfer a sashiko pattern onto fabric2 minute read
  2. Can you stitch sashiko on denim?1 minute read
  3. Can you stitch sashiko on linen?2 minute read
Browse all articles

How this guide was prepared

This guide separates referenced product facts from a suggested method to try on your own materials. No in-house stitching test, measured performance comparison or maker endorsement is claimed.

Manufacturer references and the current store catalogue, checked 6 September 2026. Published by Sashiko Crafts.

References and further reading

  • Olympus: choosing thread, cloth, needles and marking tools
  • Clover: Chacopy tracing-paper application and removal

Product instructions vary. Follow the directions supplied with your cloth, thread, marker and tools where they differ from this general guidance.

ShopFree toolsAll collectionsSashiko supplies UKBrowse all articles

Delivery & returnsFAQsContact Us

Our StoryWholesale

Beginner sashiko guideVisible mending guide
United Kingdom

© 2026 Sashiko Crafts. All rights reserved.

Terms & ConditionsPrivacy PolicyShipping PolicyReturns PolicyCookie Policy