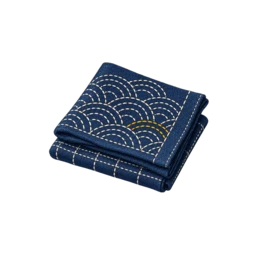
Inspect the front and reverse
Lay the cloth flat and look for rows that have become tight, loose loops that could catch and places where the needle has skipped the intended line. Turn the work over and check that the thread has travelled through the layers where the repair or quilting effect depends on it.
Small differences are normal in hand stitching. Correct loose ends, accidental long jumps and tension that changes the shape of the cloth before trimming anything close to the surface.
Secure the thread without creating a hard spot
Use the finishing method recommended for the project, cloth and thread. The aim is to keep the end from unravelling while allowing the surrounding fabric to move naturally. A bulky knot in a frequently handled area can be more uncomfortable than a carefully woven or otherwise secure end.
If the work is a repair, make sure the last stitches reach stable cloth rather than ending exactly at the edge of the worn area. That gives the repair a better chance of sharing stress with the surrounding fabric.
Wash according to the cloth and temporary marks
Read the instructions supplied with the cloth, thread and marker. Pre-printed designs and washable guide marks do not all use the same removal method, so do not assume that hot water, detergent or rubbing is safe.
Use the stated temperature and handle the cloth gently. If a temporary line remains, repeat the approved rinse rather than immediately applying stain remover, bleach or high heat.
Dry, iron and store with the finished shape in mind
Reshape the damp cloth without stretching the stitch lines and dry it as the fibre and product instructions allow. Do not iron across temporary marks until they have disappeared and the manufacturer says heat is safe.
Store the finished work clean and dry, away from unnecessary compression. Keep a note of the thread, cloth and washing method if the piece may need a future repair or if it is part of a set.